The way I eat a Reese’s Peanut Butter Cup is embarrassing, really. Because I don’t like the chocolate stuff but I love the peanut butter part. So first I take off all the chocolate, and then I eat the peanut butter. By then my fingers look like a five-year-old’s.
This got me thinking about how to duplicate that Reese’s peanut butter experience with chocolate I actually want to eat (that doesn’t have all that trans fructose hydrogenated chemical stuff). After much hard, hard work and lots and lots of taste testing (someone’s gotta do it!) — Voila!
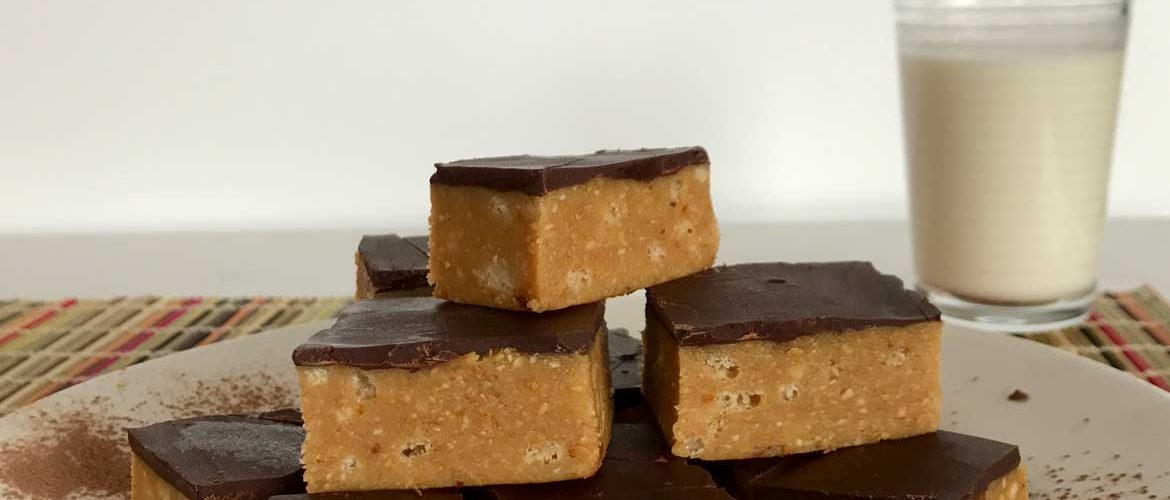
These no-bake cookies are not only delectable and satisfying; they’re also gluten free, soy free, dairy free, and have no processed sugar. They’re a hit with kids and are incredibly easy to make, so the kids can do all the work. If you don’t have a kid, borrow one. Send them home with these cookies and they’ll love you forever.
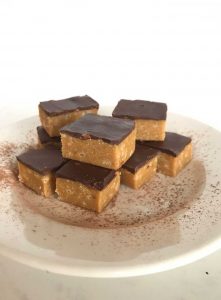
Peanut Butter Cup Cookie Bars
Prep
Inactive
Total
Yield 25 Cookie Bars
Ingredients
IngredientsFor the dough:
- 1 cup freshly ground peanut butter
- 2 cups almond flour
- ½ cup maple syrup
- ½ cup crispy rice cereal
- 1 tsp vanilla extract
- ¼ tsp salt
Chocolate topping:
- 6 oz. chocolate chips
- 1 T coconut oil
Instructions
Are you ready for this?
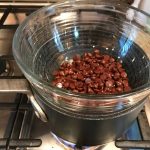
- Heat the chocolate chips and coconut oil in a double boiler (or if you’re me you improvise with a medium saucepan and heavy glass bowl—if I ever owned a double boiler I sure can’t find it!).
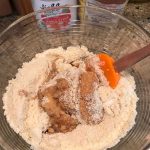
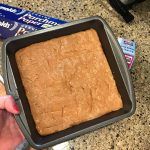
- While that is melting, combine all of the ingredients for the dough and mix until everything is well incorporated.
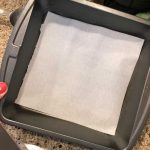
- Line the bottom of an 8x8 inch pan with parchment paper.
- Press the dough into the pan.
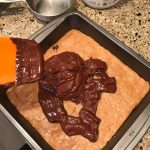
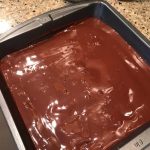
- Stir the chocolate and oil well to combine. Pour the chocolate over the top of the dough and spread it evenly.
- Put the pan in the refrigerator for an hour or two or until you’re ready to serve the cookies (cutting them too soon will result in a chocolaty mess!).
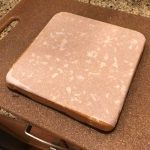
- Remove the pan, tip it upside down on a cutting board and press gently on the bottom (this is where the parchment really helps—no sticking!).
- Turn the chilled dough right side up and slice to make 25 cookie squares. Then try not to eat them all in one day.
Notes
The cookies will keep longer in the fridge—or, better yet freezer. I like the texture best when they're cold, too!
If you stack the cookies to store them, use parchment between each layer to prevent sticking.
-
- Step 1
-
- Step 2
-
- Step 3
-
- Step 4
-
- Step 5
-
- Step 6
-
- Step 7